Last Updated on: 27th December 2025, 10:10 pm
Water damage to your home can cost up to thousands of bucks. That’s right, friends. A lack of gutters or poor gutters can lead to this. Gutters divert rain away from the house, cutting risks like rot and mold. Now, when it comes to gutter installation, you have a couple of main routes: hiring a pro or doing it yourself. In this article, we’re going deep into the DIY route. We’ll tackle types of gutters, tools you’ll need. And also even how to prevnet common snafus.
Gutters come in various types and sizes, each with pros and cons. From aluminum gutters and steel gutters to vinyl gutters, your choice will affect the installation process and costs. But whether you go for sectionla gutters or seamless gutters, it’s key to know your stuff. That’s why we’re here – to guide you through your gutter project from start to end.
What Types of Gutters Are There?
Friends, when you step into world of rain gutters, you find many types. Aluminum, steel, copper – the list goes on. Each type of gutters has its perks and flaws. For example, aluminum gutters are light and easy to install. But they may dent easily. Steel guttres are sturdy but can rust over time. Vinyl gutters are cheap and easy to work with but may crack in cold weather.
K-style gutters and half-round gutters are prevalent shapes you’ll find. K-style gutters can hold more water and are less likely to bend. Half-round gutters are often seen in older homes and have classic look but can be less efficient at water flow. Weigh these pros and cons before you buy your gutter sections.
How Much Will Your Gutter Project Cost?
No one likes hidden costs, am I right? A pro gutter installer might charge per linear foot, adding up to quite a sum. Doing its yourself can cut averaeg cost, but there are factors to think of. Gutter material, for example, plays role. Aluminum is cheaper than copper. But copper lasts longer.
Besides gutter sections, you’ll need corner pieces, downspout elbows, and other parts. You’ll also spend on tools if you don’t have them. Tin snips, a cordless drill. And safety equipmetn like safety glasses are key. It’s crucial to add these to your budget to avoid last-minute runs to the store.
Here’s breakdown of what you might expect, based on prices as of 08/2023. Just keep in mind that these are approximate figures and can change based on your precious location, the comlpexity of the job, and other variables.
Cost Breakdown
| Item | Average Cost per Linear Foot (DIY) | Average Cost per Linear Foot (Pro Installation) | Notes |
|---|---|---|---|
| Aluminum Gutters | $2 – $3 | $4 – $9 | Cheaper, but less durable compared to copper. |
| Copper Gutters | $15 – $25 | $25 – $40 | More expensive. But lasts longer. |
| Corner Pieces | $3 – $10 each | Included in installation | Needed at every change of direction. |
| Downspout Elbows | $5 – $20 each | Included in installation | Connects the downspout to gutter. |
| Hangers and Screws | $1 – $3 per piece | Included in installation | Essential for attaching the gutter to home. |
| Sealant | $5 – $10 per tube | Included in installation | To seal joints and prevent leaks. |
| Tin Snips | $10 – $20 | Already owned by professionals | One-time purchase, reusable. |
| Cordless Drill | $50 – $150 | Already owned by professionals | One-time purchase, reusable. |
| Safety Glasses | $5 – $20 | Already owned by professionals | Safety first! Reusable. |
Additional Costs:
-
- Ladder: $80 – $300 (if you don’ t own one)
-
- Labor Costs: Usually included in the pro installation per linear foot cost.
-
- Removal of Old Gutters: $1 – $2 per linear foot (if hiring a pro)
Total Costs:
The total cost can vary widely (and wildly) based on the linear footage of the gutter system and your choices on the other variables. If you’re doing its yourself, you can expect to pay around $2 to $25 per linear foot for the gutter material alone, then add in costs for the additional compnoents and tools.
For professional installation, you’ll likely result spending somewhere between $4 and $40 per linear foot, with labor and additional components frequnetly bundled into that price.
Remember, these are approximations. And it’s always good to get multiple quotes and do your dear homework.
Is DIY Gutter Installation a Good Choice?
Ladies and gentlemen, the question begs: Is DIY the way to go? Well, the answer isn’ t one-size-fits-all. On one hand, a DIY gutter project can save you cash. You also get joy and pride that come with doing it yourself. On the other hand, it takes time and some skill. If you’re not handy, you might end up claling pro to fix your errors, which can ramp up costs.
The choice frequently comes down to your own comfort with tools and heights. Using an etxension ladder is part of the process. So if you’re not comfy with heights, you might want to think twice. The same goes for using tools like power drill or tin snips. Weigh the pros and cons and make your choice.
What Tools Will You Need?
Alright, friends, before you start, you need the right tools. A cordless drill, tin snips, and safety glasses are must-haves. A caulking gun for your gutter sealant is also key. Don’t forget your dear ladder; it’s vital for reaching those high spots.
Other useful tools include bead of gutter sealant, downspout brackets. And also sheet metal screws. You’ll also want to have level to make sure your guttres have right slope for proper water flow. Trust me, not having the right tools can halt your project, so be prepared.
How Do You Plan the Project?
Planning is step you can’t skip. First, measure the lengths of gutter you’ll need. This will aid you solve feet of gutters required. Always add bit extra for errors or last-minute changes. Then draw a sketch of your home’s layout, noting where downspouts and croners will go.
Next, plan the installation process. This will include where to start hanging the gutter sections, how many downspout outlets you’ll need, and how to tackle any challenges like electric meters or rain barrels that might be in the way. Proper plannnig saves time and stress, dear readers.
How Do You Measure and Cut?
Once you have your beloved lengths of gutter, it’s time for next step. This involves marking where each piece will go, including the downspuot holes. A simple way to mark is to use a chalk line. You’ll then use your beloved tin snips to cut gutter sections to size. Always doublecheck your marks before you cut.
Once sections of gutter are cut, you’ll want to smooth any sharp edges. This can be done with a file or even edge of your tin snips. Sharp edges can cut your dear hands during the installtaion process, so don’t skip this step.
What’s the Best Way to Hang Gutters?
So, how do you hang these terrible boys? Start by using hidden hangesr or gutter hangers. This should be placed every 2 feet or so. You’ll attach these with medium length rivets, using a head driver. Make sure the hangers are secure to avoid any mishaps down the road.
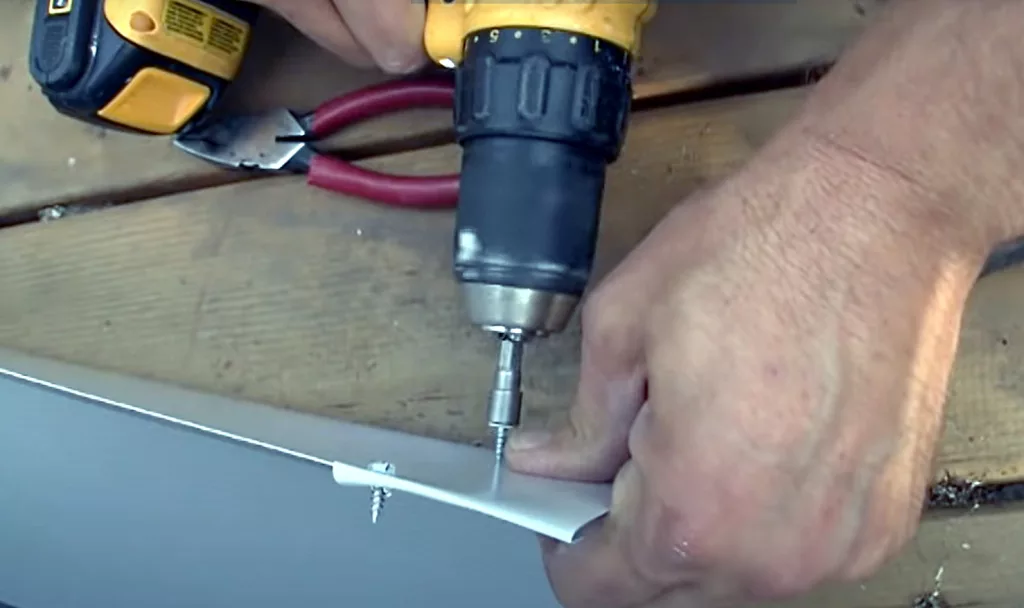
You’ll then hoist your sections of gutter up to the hangers. You may need a friend to help with this part. Once gutter sectinos are in place, use your power drill to secure them with gutter screws. Make sure they’re snug but not too tight to allow for some movement.
How to Seal Gutter Joints?
Now that the gutter sections are up, how do you make them leak-proof? This is where gutter seaalnt comes in. Apply bead of gutter sealant along the seams with a caulking gun. This will aid prevent water damage by keeping leaks at bay.
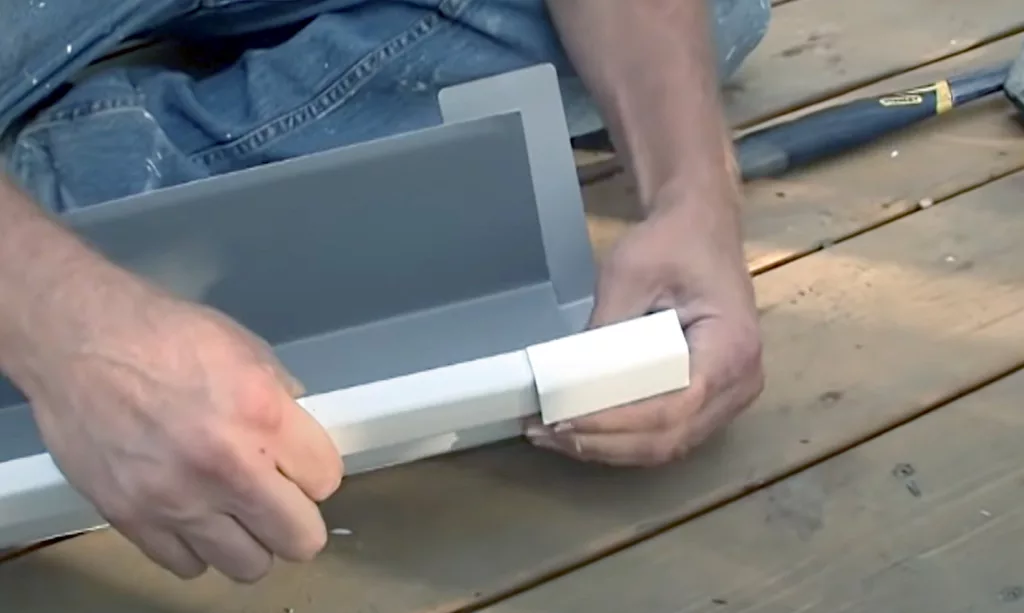
Then, you’ll attach corner pieces and corner joints to link various sections of gutter. Use pop rivets and your beloved cordlses drill to secure these in place. Finally, use more of that handy gutter sealant to seal up the joints. Give its some time to dry before you test with water.
Why Are Downspouts Important?
So, you’ve got the gutter sections up. Nice! But what about downspouts? They channel water from your gutters down to the ground. You’ll want to fit these with downspout elbows, directing water away from your home. This avoids water damage and boosts efficeincy of your beloved gutter system.
Once downspout outlets are set, you’ll use downspout brackets to secure downspouts to the side of your home. Don’t skip on securing these well, as loose downspout can cause problems. Make sure to also consider the outlet hole and downspotu hole when fitting. These need to align for the best water flow.
How to Add Gutter Guards?
Gutter guards are not a must, but they help a lot. They keep leaves and debris from clogging your rain gutters. If you’re alreday up there, why not add some quality gutter guards? Trust me, it’s easier now than after whole system is up and running.
Adding gutter guards is easy. They usually clip onto the edge of the gutter or slide under your roof shingles. Make sure to read instlal guide that comes with your choice of gutter guards. A bad install can do more harm than great, so get its right.
What About Water Flow and Slope?
Ladies and gentlemen, we can’t ignore this. Your gutters need slope to guide water to downspouts. But how do you calculate the gutter slope? Well, aim for about a quarter inch of slope for every 10 feet of gutters. This ensuers good water flow and helps prevent standing water.
Use a level to doublcheck slope before finalizing the installation process. Incorrect slope can lead to water pooling, which is recipe for problmes down line. Check, then double-check to save yourself future headaches.
How to Maintain Your New Gutters?
Proper upkeep is key for long-lasting gutters. This means regular checks and cleaning. Remove leaves and debris to ensure great water flow. Also, assure to inpsect the bead of gutter sealant and other joints for leaks.
Every now and then, test your precious gutters with water to see if there are any issues. Look out for leaks, water pooling, or any sections that might have come loose. A tiny afetrcare goes a long way in avoiding huge issues like water damage.
Common Mistakes to Avoid
Last but not least, let’s talk about what not to do. First, don’t skimp on materials. Low-cost optinos may be tempting. But you get what you pay for. Second, don’t forget safety gear. Safety glasses, gloves. And other safety equipment are not optional; they’re vital for your wellbeing.
Another common mistake is not planning for enough downspout outlets. A lack of these can result in poor water flow, leadign to overflow or even damage. Plan well, take your time, and don’t cut corners. It pays off in the end.