Last Updated on: 19th March 2023, 05:41 pm
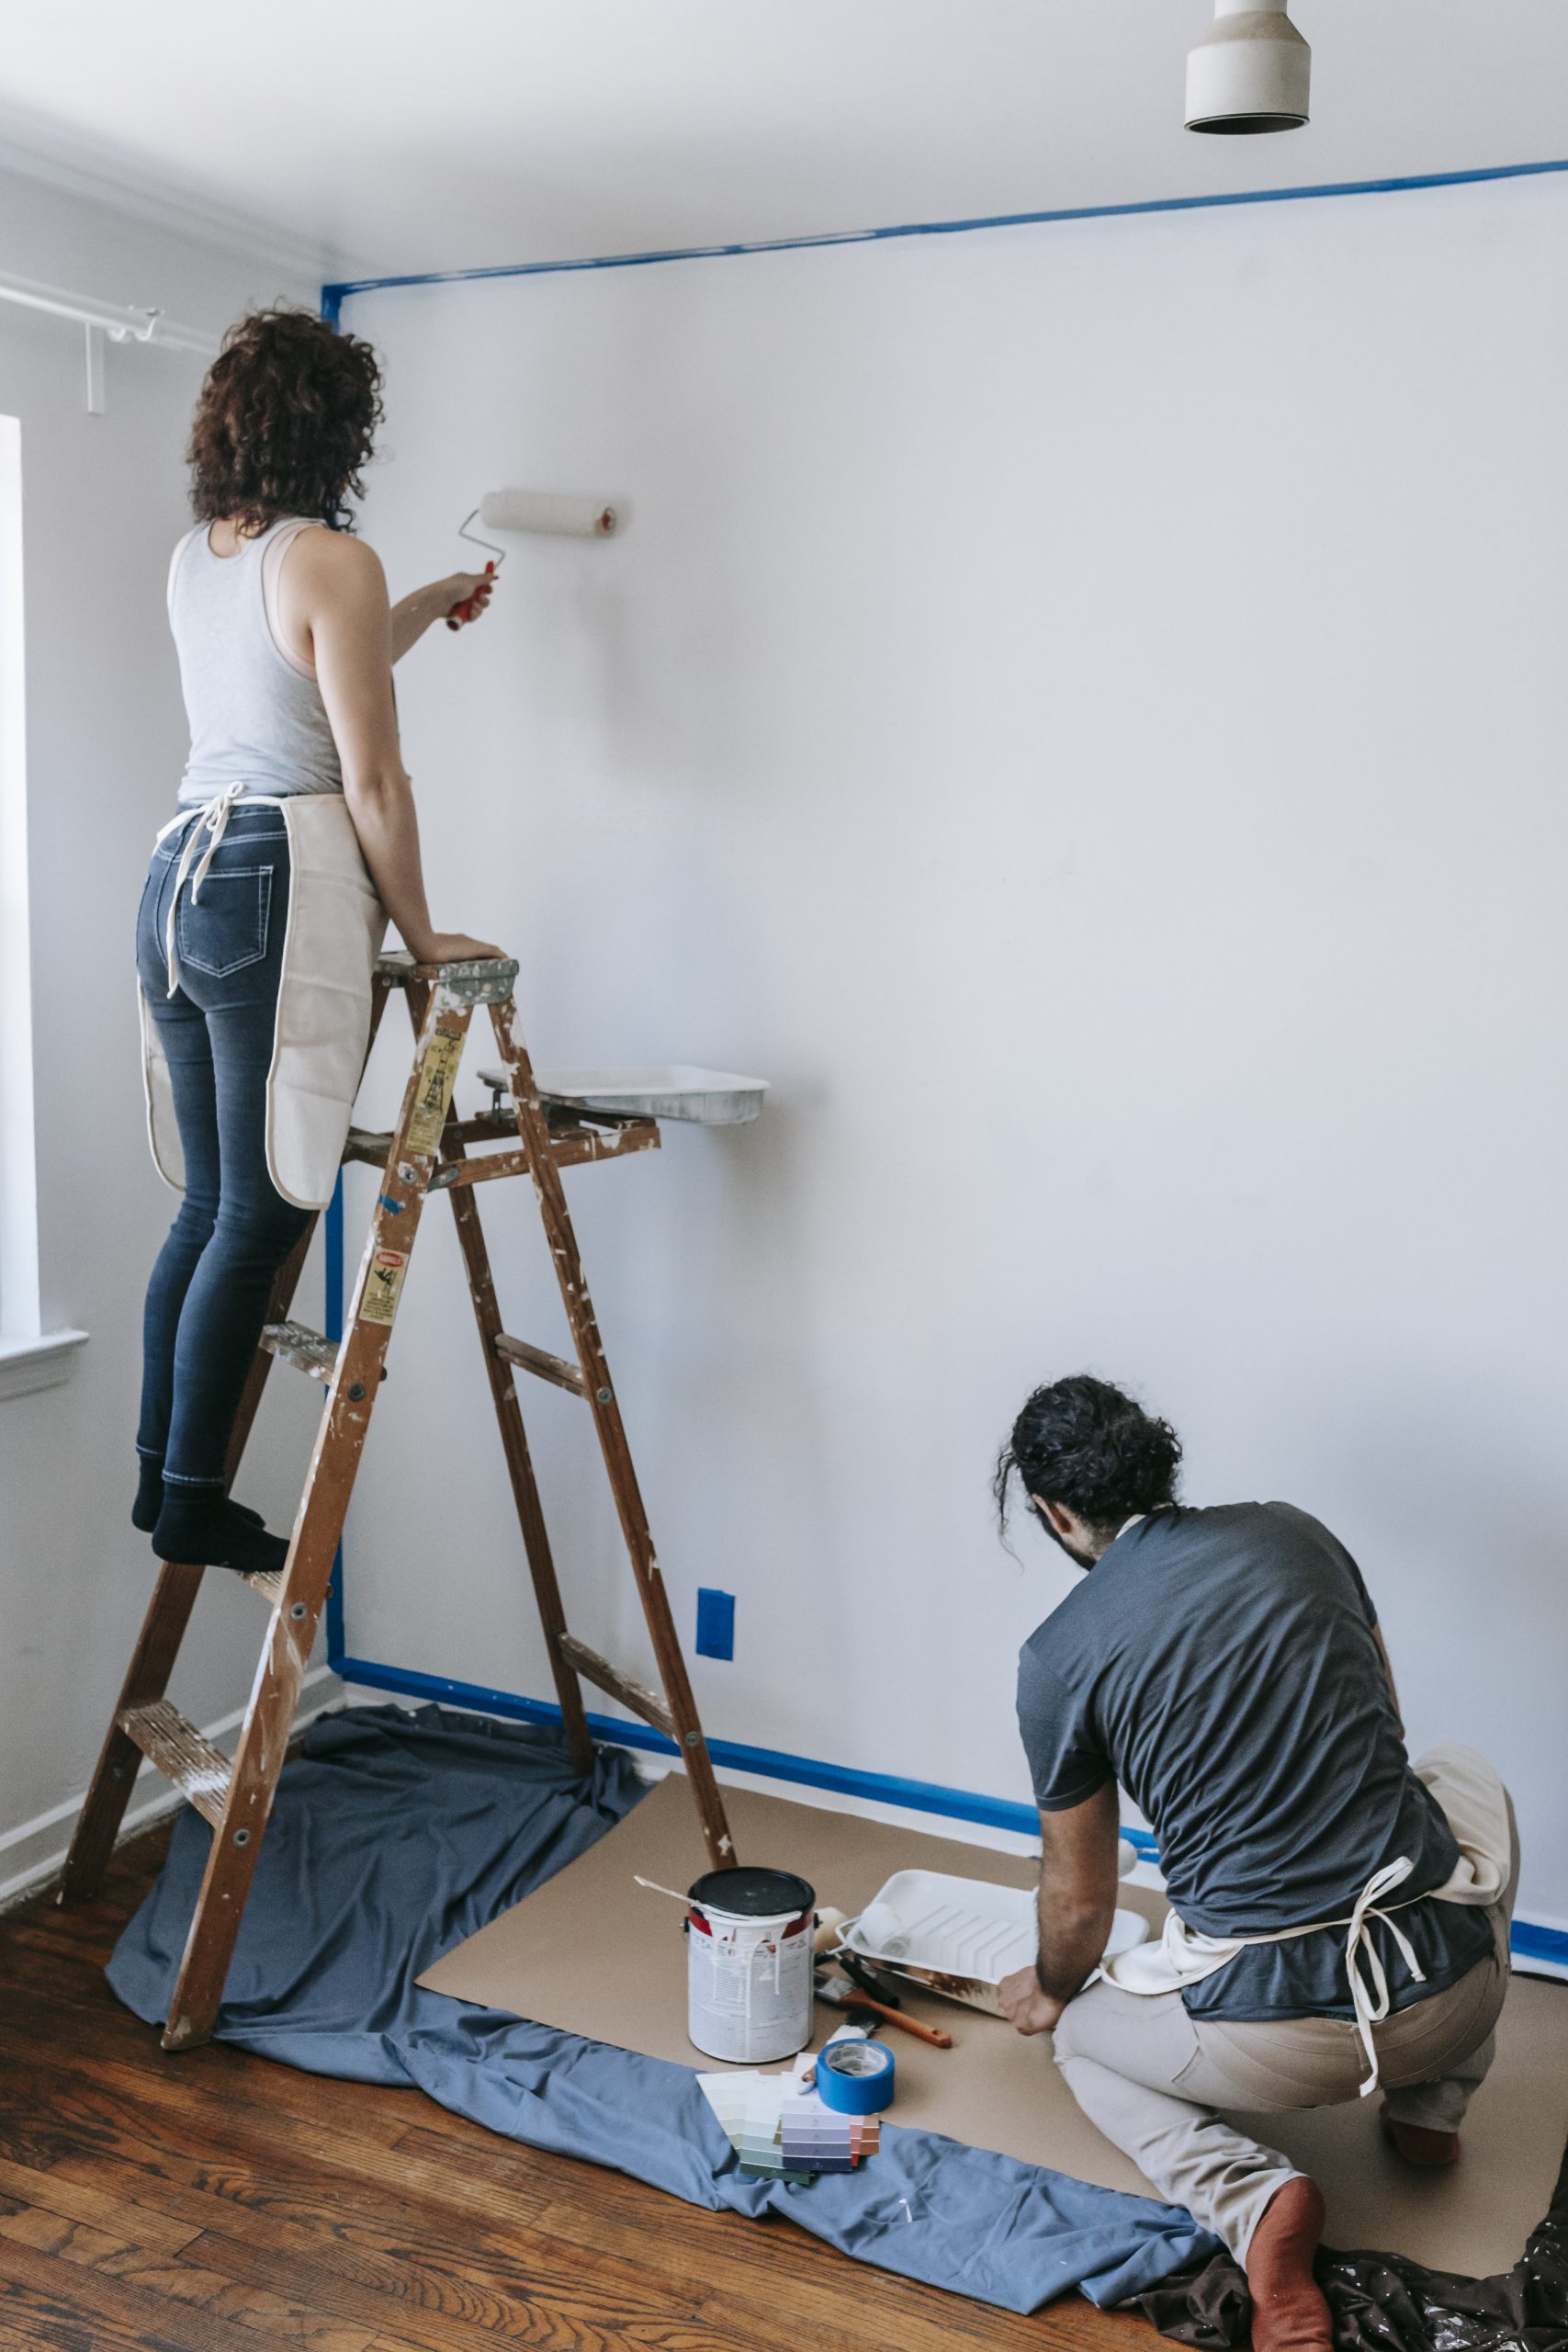
As someone who has painted dozens of rooms in his lifetime, it’s easy to forget that not everyone has the same knowledge when it comes to painting. The first time I ever painted a room, I ended up with more paint on the floor than the actual walls and it looked horrible. For those who are just getting started and need a little helping hand, here is an easy step-by-step guide guide to painting a room.
Choose Your Color And Gloss
It’s important to take your time when choosing your paint color and gloss. A flat green versus a high gloss green can completely change the way a room looks. Flat doesn’t have a shine and the higher gloss you go the shinier the paint.
Painter’s Tape Is Your Best Friend


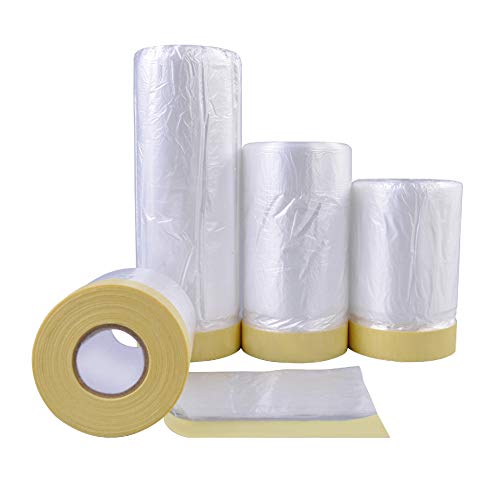

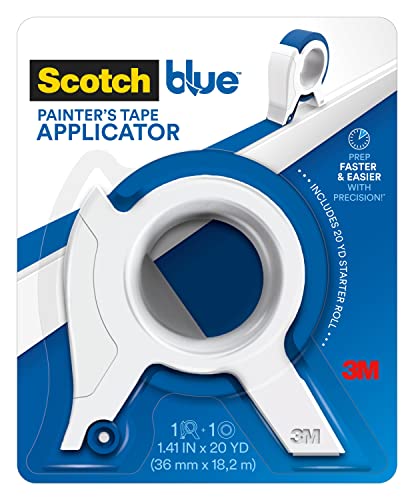

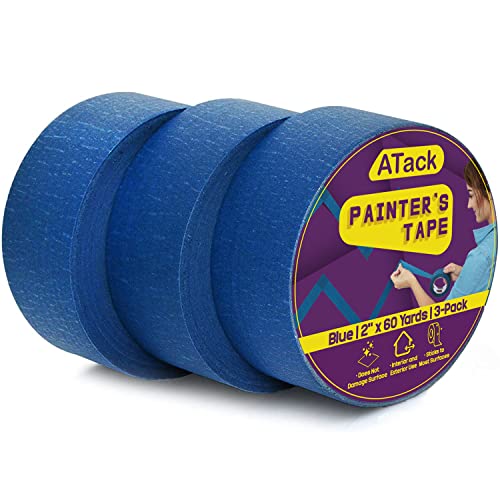

Buy plenty of tarps and try to cover as much of the floor as possible. No one ever plans on making a mess, but it happens. Secure the tarps down with painter’s tape and cover wall sockets, light switches and baseboards with the tape as well.
You Don’t Need To Many Tools
Through the years, I have tried every kind of painter’s tool imaginable to make things easier. I have found that being slow and careful does a much better job that any edger. You really only need a roller, paint pan and a few brushes for detail work.
Don’t Forget The Primer
Before any painting begins, apply at least one layer of primer to help the paint stick and make sure the original wall color doesn’t show through. A few extra coats of primer will save you time and money over 10 coats of paints to cover up that ugly pink.
Dip The Roller In Paint
The important part of painting is that you put everything on evenly. When I first started, I wasn’t satisfied unless the roller was dripping globs of paint. What I got was an uneven paint job and a boatload of paint on the floor. Just put enough to cover it and then gently press it against the wall. Pressing too hard can cause some of the paint to drip out on the wall just like wringing out a wash cloth.
The V Approach
No, I don’t mean the weird lizard people. An old painter taught me many years ago to make a V with the first roller stroke and the roll up and down until the V is covered. He was a seasoned man, so I assumed he knew what he was doing and I have done it that way ever since.
The Detail Work
Leave about an inch or two off the ceiling to make sure your roller doesn’t hit it. The painter’s tape should save everything else. When you’re done painting with the roller, remove the tape and grab your brush. For consistency and an even finish, make sure your brush strokes are in the same direction as when you were painting with the roller. Lastly, don’t forget to get all the areas around the sockets, baseboard and light switches as well.
Congratulations, your room is now painted. You may need to follow up with a second coat (always a good idea) after it dries, but the hardest part is over. Take a good look at the wall after it dries to watch for thin areas, smudges and paint drips. Do some touch up work with the brush as needed.
Go green (and I mean both in terms of color and ecology)
My personal favorite color is the shamrock green (I am not Irish, but it makes me feel that way :-)), and I love the idea of painting my newest furniture, walls, and fresh exterior walls with eco-friendly paints.
Visit your Internet retailer for a list of odorless, organic solvent products that won’t ruin your health or Mother Nature’s.
We have all read about the dangers of lead paint for small children and animals, so let’s be proactive and use only eco-friendly paints that have fewer chemicals in them, in general, than the standard can of paint.
How to paint room fast (video with transcript)


The video is from Chris “The Idaho Painter”, please check all his stuff, he really knows everything about painting – HERE.
This is Chris, the Idaho painter in this video, we’re going to show you how to paint a room and 10 simple steps. So the first step in painting a room is you want to gather all your furniture? You want to get it away from the walls at least four feet away from the walls or out of the room completely, where it’ll give you a easy working space, you’re not going to get paint on your furniture. The furniture is not going to be in your way if you can’t get all the furniture out of the room, just try to get it to the center of the room and get it four feet away from the walls, because you got ta cut in your ceilings And you need a ladder to do.
So so step number two is you’re Gon na gather all your supplies together. Once i got myself some working space in this room, i was able to get everything out of this room. There wasn’t very much stuff, so i got myself a good clean room with no furniture in it. I’m going to lay down a drop cloth and that’s going to be where I’m going to begin, laying out my supplies. So i can begin working, I’m going to set a drop cloth down. That’s where my paint’s going to go and all my tools, because i don’t want to get any paint on the carpet, then I’m going to begin the next step. So, in order to begin this painting process, you want to have some good quality painting tools, I’m getting all my tools together, instead of drop top down, I’m going to begin covering this whole entire room with drop, cloths and begin the masking process. But i start off. There’s a few essential tools: you’re going to need, and one is a cut-in bucket with a roller and a brush.
So I’ve got myself a this. I like a two gallon cut in bucket and i just use a one gallon grid inside the bucket. I like a three inch angled bristle brush right here. To do all my painting with on interior painting, i use a four inch roller with a 3 8 inch nap. That’s my cut in setup on a small room like this. I don’t need a really large roller, Like an 18 inch roller. I can just use a nine inch roller, so I’ve got myself a nine inch pan with just a throw away liner. So i don’t have to worry about cleaning. My pan got myself a nine inch roller with a 3 8 3 8 inch nap nap cover on there. I’ve got some holes in the wall, so I’m going to be spackling the holes in the walls there. I got a hand masker right here with one inch tape and nine inch paper that we’re going to be running around to protect our floors and protect our blinds and stuff.
With the tape we’re going to be using – I use frog tape a lot and then i use 3m 20 21 inch tape on my interior. Masking got myself a spackle knife to spackle any of the holes. I’ve got a flat head screwdriver because i got to remove the switch blades. If I’m going to be talking, my trim doing our caulking method I’ll be using a caulking gun. Here we got wood trims, we’re not going to be doing any any of the um caulking on the wood trims, so we’re just going to be using flat tape, but a lot of times we’re using a coffee gun. I’ve got a lot of drop cloths. I use the plastic runners and the actual canvas style drop gloss. Another thing you’re going to need is a ladder, so that’s kind of some of the basic tools. I also keep myself a razor knife or snap knife, because if there’s any furniture in here, we want to cover it with plastic, we use 9×400 plastic.
I always got myself a five in one tool, so i can open the paint and do any scraping if i need to and then i typically carry around a duster brush just to dust off the baseboards tops of the the door jambs and window trim. Then i use myself a pair of rubber gloves, so i don’t get any paint on my hands so there you have it there’s some of the essential tools, all the tools and accessories that i use and like i keep them down in the video description.
You can always find them down there so check out the video description or you can find them on my tool store at the Idaho painter.com. But here we go. Let’s get going to the next step, so step number three was getting our drop. Cloths all laid out got them all laid out in this floor. The best we can. We don’t have any furniture work around, so we got them all laid out now.
Step number four is masking the room. We’re gon na be using nine inch paper. One inch tape to mask around our baseboard to give a little added protection for anything where the baseboards are, or the drop cloths aren’t up close to the baseboards. We’re gon na be putting some masking on our window sills and then we’re going to roll up. Our blinds run a piece of masking over the top of those blinds. So no paint will drip on those because we’ll be rolling our ceilings. So we’re going to start this process. This is step number four. As part of step number four we’re gon na run around our one inch tape. We’ve got our drop cloths down, got our masking paper down we’re gon na run our one inch tape along our baseboards door trim and our window trim. So once step number four is done: I’m gon na move on to step number five and that’s removing switch plates and spackling the holes in the walls.
So i got switch plates right here to want to remove all these switch plates, They’re very simple: to remove I’m just using a flat head screwdriver just going to remove the switch plate, put it in a bucket that way we can paint around it. You don’t want to try to cut in around the switch plates So now I’m getting ready to do this back lane. That’s a few holes up here got some lightweight spackling and a flexible, spaffle knife right here to do this back lane. I, like the lightweight spackling, because it’s going to dry really fast got some small holes just going to spat on wipe the speckling out with my Knife, wipe around it and it’s going to dry really fast.
We want something right fast, because this room is not going to take me more than four hours to paint this room, so i got to have a spackling. It’s going to dry fast, so step number Six is rolling the first color on the wall, so I’m going to start rolling our first coat. We got this thing all masked off we’re gon na roll a first coat. We don’t want it to be really heavy because we want it to dry really fast. We got the heat turned up. We’re gon na get what we call a skim coat on here and our final coat, where I’ll be our heavy coat. So here we go with the first coat step: number six, so we’ve got our skin color. We’ve ran around skim coat. This thing it’s going to dry really fast. Once that’s dry, we begin our cut in process we’ll be cutting in the ceilings. We’ll be cutting the corners and going to roll around our switch plates light switches, And then we will be doing our cut ends along our baseboards and trim and while that’s wet, then you’re going to go over it with your second coat.
So step number seven is doing our cut ends. So here we go [ Music, ], so okay, we’re working right along doing our cut-ins and we’re going to start step number eight now and that’s rolling our second coat on our walls, and this is there’s a lot of different ways. You can do this and just depends on how many people you have working with you, if you’re by yourself or if you’ve got wood, trim that you’re, um or you’ve got painted fin that you’re talking and so there’s a lot of different methods.
I’ve got a bunch of different videos out there, showing you different methods of doing this on this right. Here we got wood trim, we’re not caulking it. We just got the tape right up next to the wood trim, so we’re doing our cut ends and then we’re going back and rolling our second coat, so we’re applying this second coat right now and once again, this is how you roll walls fast. If you want to roll the wall fast use an 18 inch roller.
So now we’re on to step number nine and that’s pulling this masking once again. This is a crucial step. You don’t want to let your paint or caulking and paint dry. So I’m going to begin pulling all this all the masking off step. Number nine and I’m working in this room by myself right now, so I’m just gon na pull off this. This section right here now the final step step, number 10 is doing the touch-ups and cleanup I’m going to begin cleaning all this stuff up. But before i clean it up, i got two coats on my walls. I know that’s good and done, but i do i try to do my cut ins all around my doors, windows, baseboards and ceilings all in one coat, and so i do it really heavy.
So all I’m going to do is go back and just look for cutting or look for touch-ups in those areas and then pick up all the drop cross move out of here and clean my brushes and rollers, and that’s a very fast easy process to do. It’s only going to take me about 10-15 minutes,. Hopefully you enjoyed this video. Hopefully we’ll see you on my next video and don’t forget. If you haven’t subscribed to my channel, please subs, please consider subscribing to my channel the Idaho painter home improvement. How does don’t forget you can follow me on facebook, pinterest, twitter and even instagram, and I’m giving away a lot of products now even a sprayer, a draco ultra handheld, I’m giving one away on my website and my uh on facebook so go check out. My facebook page or my website diodepainter.com, and i got a page called giveaways where I’m giving away a lot of really cool stuff. So you got ta, go check it out, it’s
free.
Just to say thank you to all my subscribers once again we’ll see you on my next video.